- Get link
- X
- Other Apps
Hide the screw heads Use non-hardening putty so you can dig it out if you decide to remove the shelf someday. Hold the shelf against the wall and drive 1-58-in.
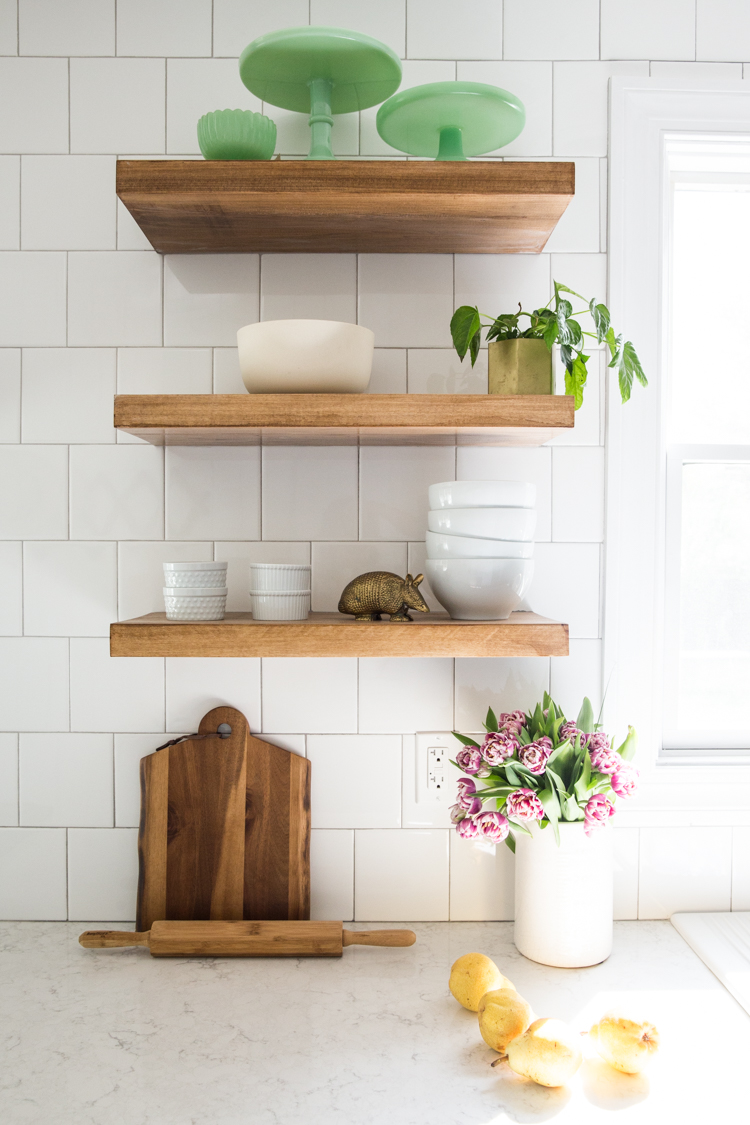
.png) Diy Floating Shelves For Easy Storage Yellow Brick Home
Diy Floating Shelves For Easy Storage Yellow Brick Home
A lack of variety in color and sizenot to mention a wider overly boxy shapereally limits what youre able to buy pre-made.

Make your own floating shelves. By cutting down a dowel rod into small pieces you can cut the cost down by eliminating any brackets. Now you can assemble the box for your floating shelf. Its very budget friendly d.
First build the 3 sides of your box using your 1 x 4 pieces of wood. Here are some ways you can DIY your own with options for every skill level. For less than 10 you could make 3 all of these.
For around 10 you can gather the materials to build all three shelves. The beauty of this is you can make them with no hardware. Get Results from 6 Engines at Once.
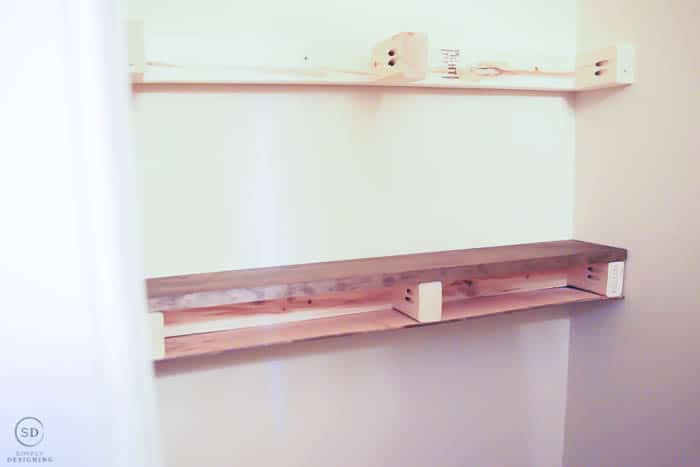
No matter how big or small your home theres a spot that could benefit from a little bit of added storage. Each floating shelf supports cleat must be straight as an arrow. Using a wrench install one lag screw into each stud until its tight.
2 x 10 pine board. Now add your pre-cut hardwood plywood tops and bottoms to your shelves using your brad nailer. Hold the cleat to your line on the wall and drill into the stud with a 18 in.
This DIY Wood Floating Shelf project is a great one for anyone looking to get into woodworking and for the more advanced alike. Once you have all of the necessary supplies you can begin assembling your floating shelf using this step-by-step guide which uses wood with the following measurements. Well lets dive into this build.
The cleat acts as a floating shelf mount. If you dont have access to a stud finder I suggest using drywall plugs to ensure the stability of your shelf. Then determine the depth of the shelf we went with 8.
Floating shelves can enhance any area. Use the supplies below to craft your own floating wood shelves. Wood screws through the shelfs pilot holes and into the wall cleat.
With a few adjustments this method can be tweak to fit most application. For almost the same price or less you can create your own custom versions that are more tailored to your home and color scheme. Then I used two 3 12 screws to hold my shelf in place making sure to pre-drill my holes t prevent the wood from splittingThen simply slide your boxes over the braces and VOILAyour floating shelf is complete.
Get Results from 6 Engines at Once. Using a stud finder find your studs and mark their location on your brace. A 2 x 3 wood plank three 4-inch planks and a ¼-inch piece cut from a 2x 3 plank a.
Ad Search For Storage. Ad Search For Storage. Measure the width of the wall behind the floating shelves take this measurement and subtract 14 this will allow 18 of gap between the shelf and wall on each side.
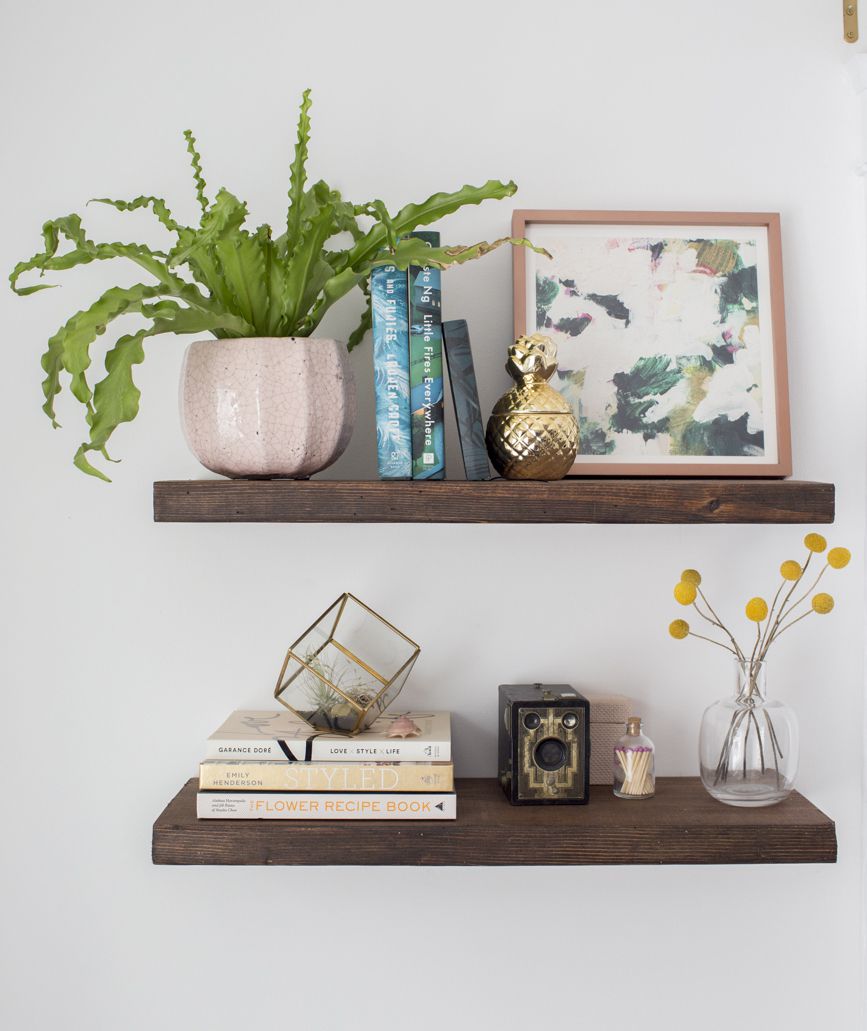
Floating shelves dont take up any floor space and fit practically anywhere.
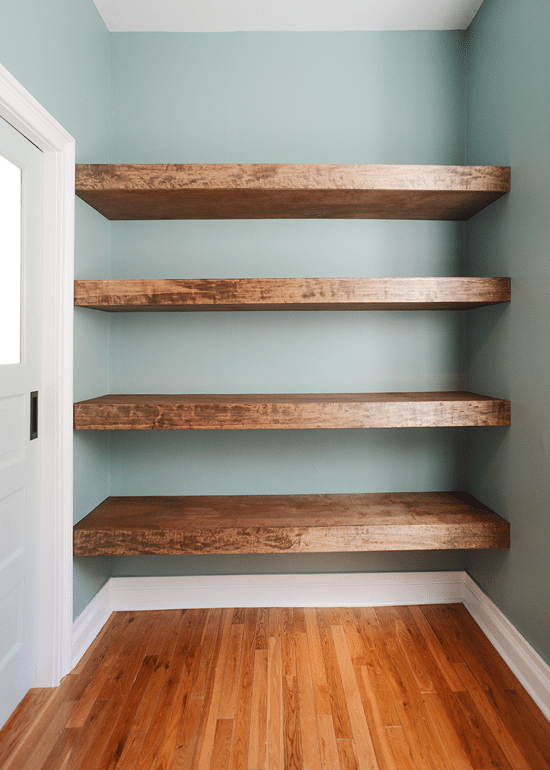
 Diy Floating Shelves How To Measure Cut And Install
 Diy Floating Shelves Free Plans Sawdust Sisters
 Diy Faux Floating Shelves Mommy Suite Floating Shelves Diy Easy Home Decor Floating Shelves
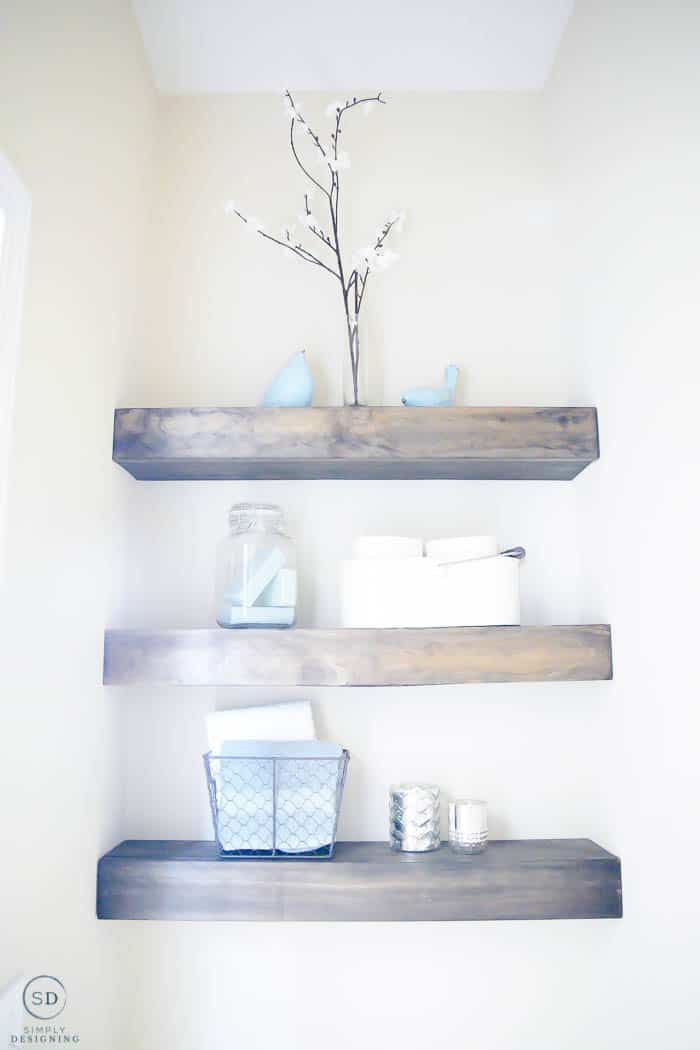
 How To Make Diy Floating Shelves Live Free Creative Co
 How To Build Simple Floating Shelves For Any Room In The House Floating Shelves Floating Shelves Diy Shelves
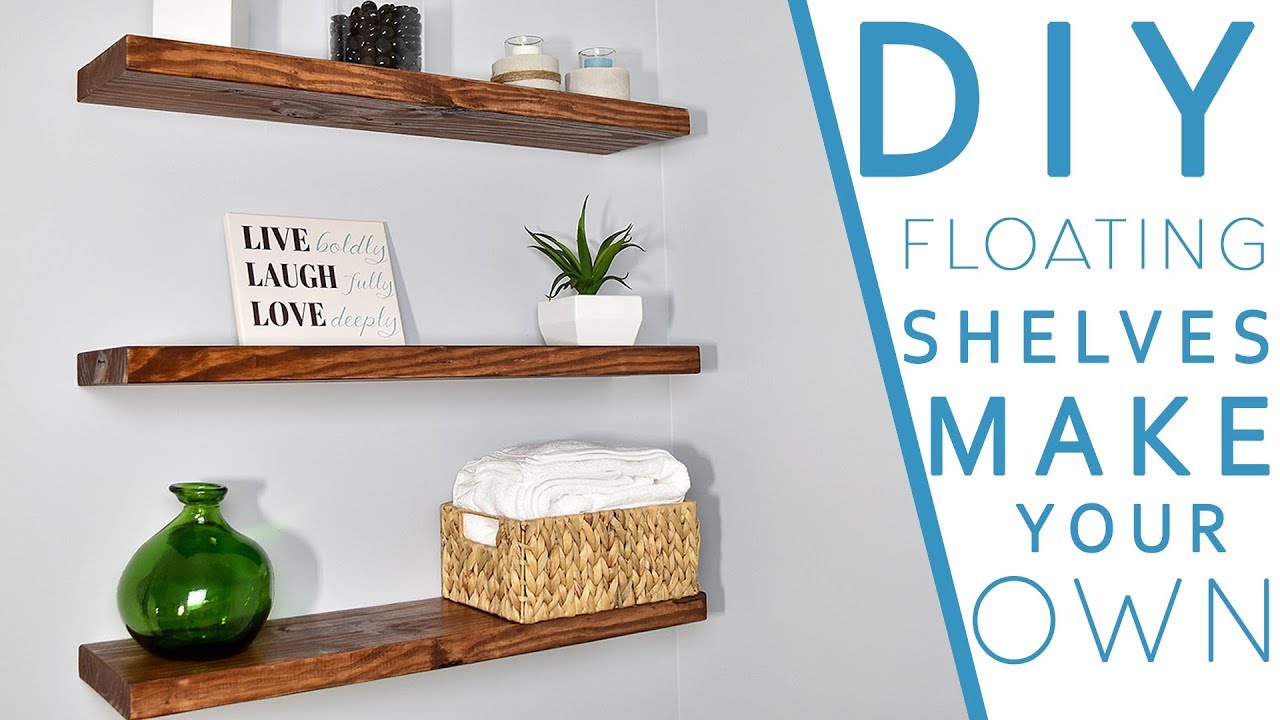
 Easy Diy Floating Shelves Floating Shelf Tutorial Video Free Plans
 Diy Floating Shelves How To Build Floating Shelves Real Simple
Diy Floating Corner Shelves A Beautiful Mess Floating Shelves Bathroom Floating Shelves Diy Diy Shelves
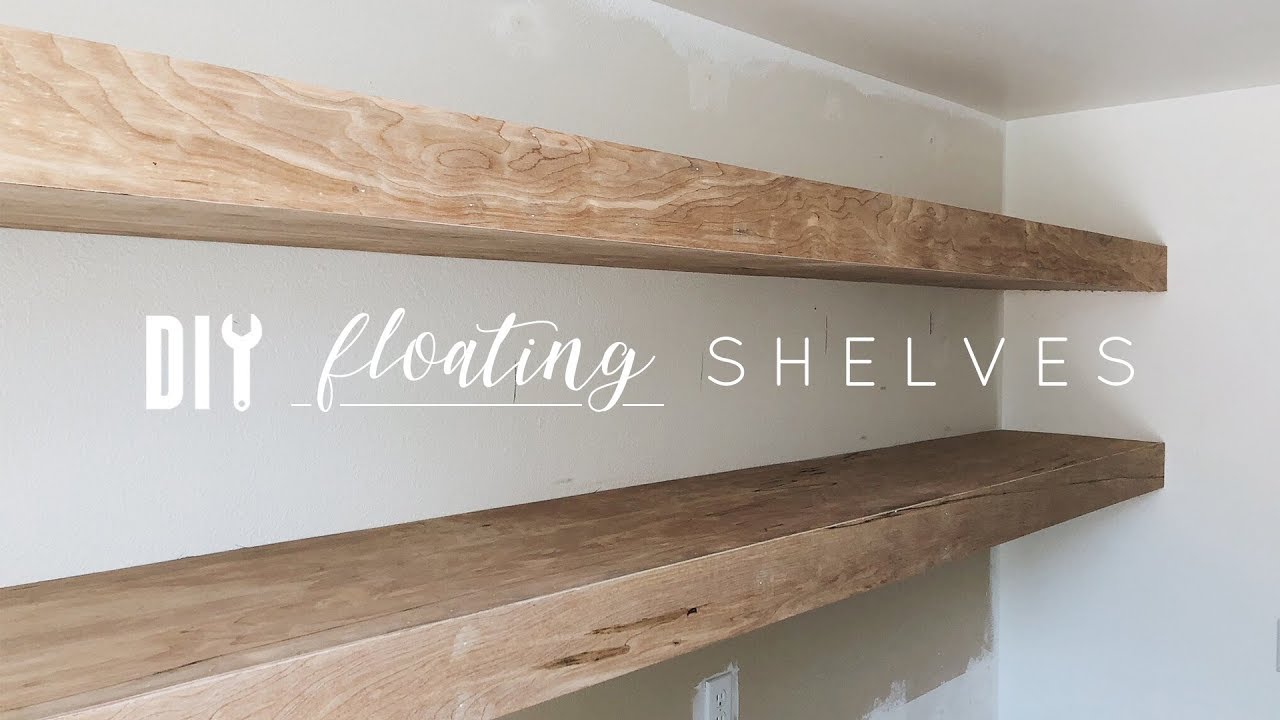 Diy Floating Shelves Youtube
 Diy Floating Shelves For Easy Storage Yellow Brick Home
 7 Diy Floating Shelf Youtube
 Easy Diy Floating Shelves No Bracket Diy Creators Youtube
 Build Diy Floating Shelves With Ana White Young House Love Floating Shelves Home Decor Wood Floating Shelves
 Diy Floating Shelves How To Measure Cut And Install
Comments
Post a Comment